Wiki - Documentation
A .ipa (iOS App Store Package) file is an iOS application archive file which stores an iOS app. Each .ipa file includes a binary for the ARM architecture and can only be installed on an iOS device. Files with the .ipa extension can be uncompressed by changing the extension to .zip and unzipping.
To follow this guide you have to use a Mac device, can't be done using Windows devices.
1. You will create and download the IPA file of your institute application as explained in this guide.
2. Open ApplicationLoader.app by searching about it on the spotlight.
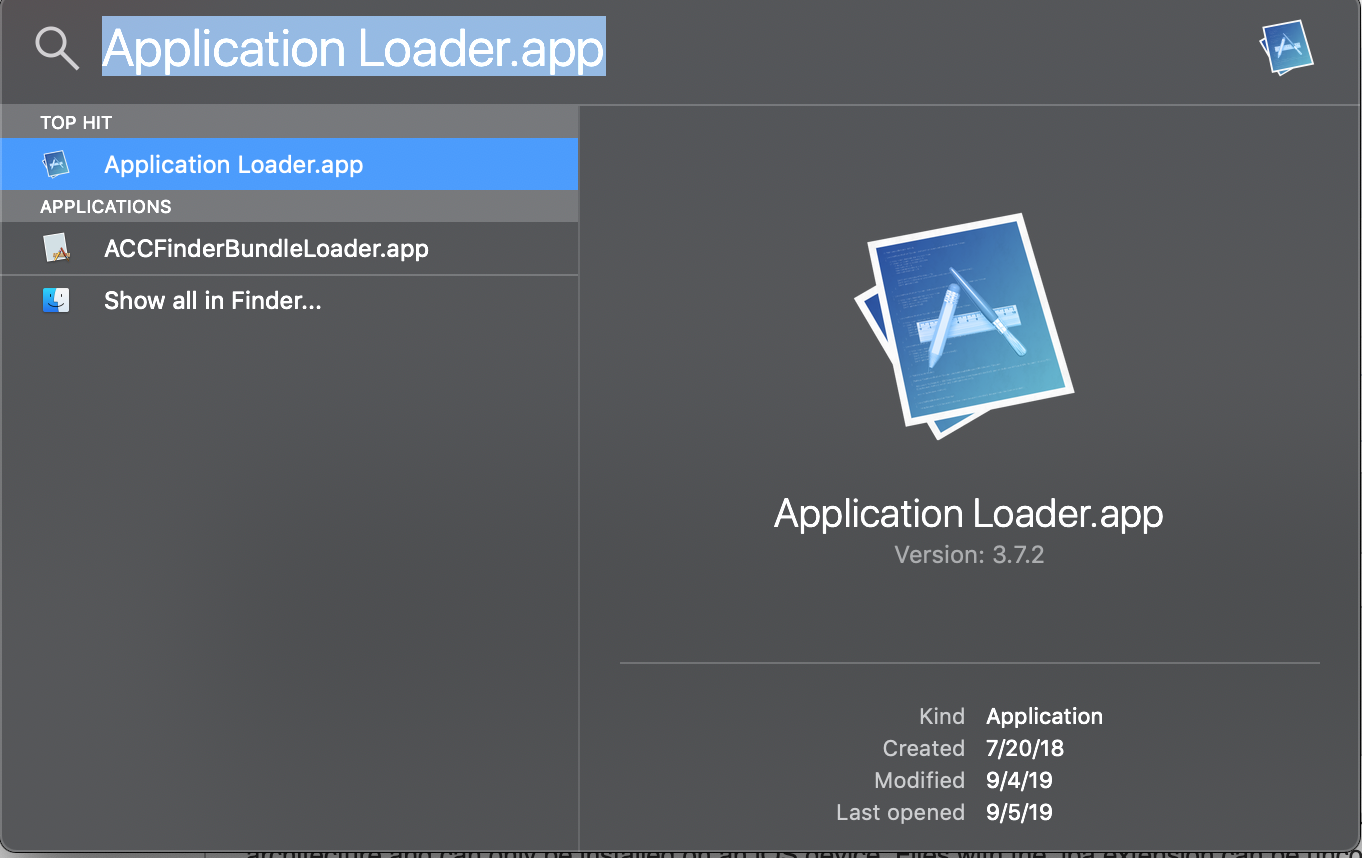
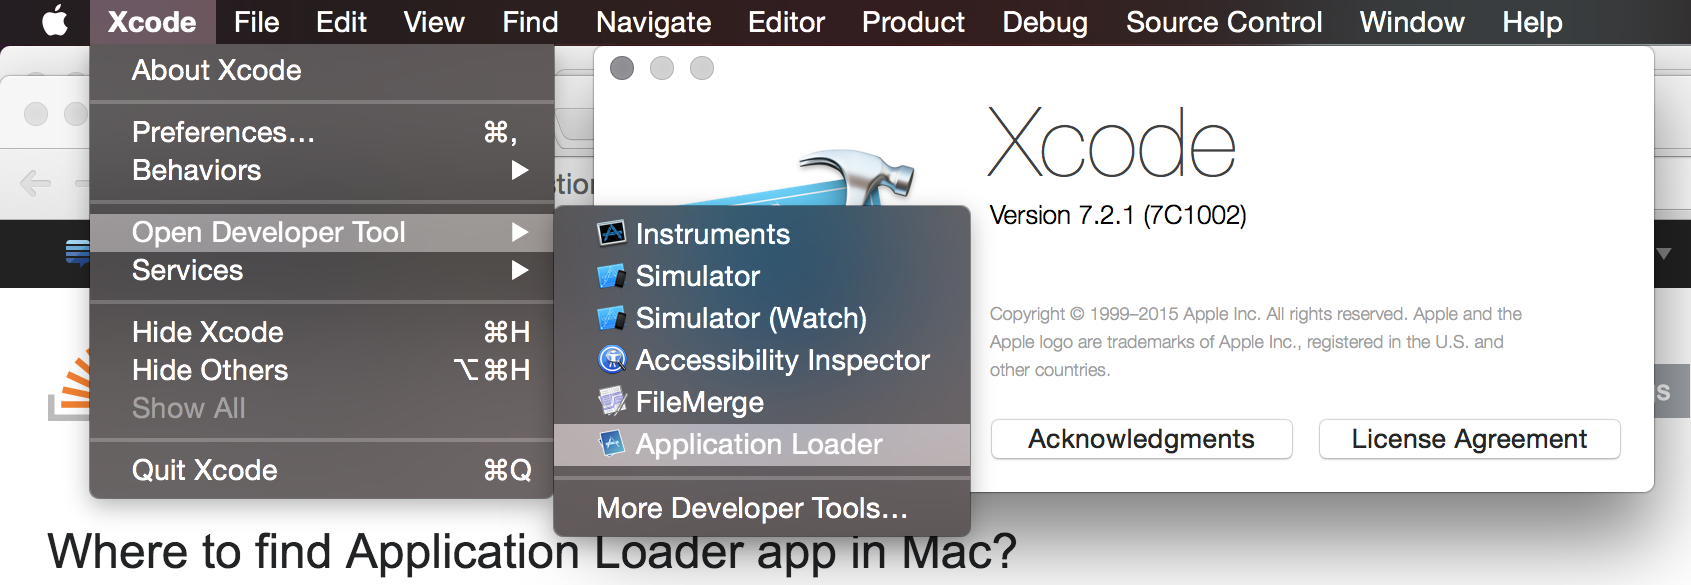
If you didn't find it in the spotlight, open it using Xcode.
you'll find "Application Loader" under the "Xcode" menu (the first menu to the right of the Apple in the menu bar) and it'll be hiding in the "Open Developer Tools" submenu.
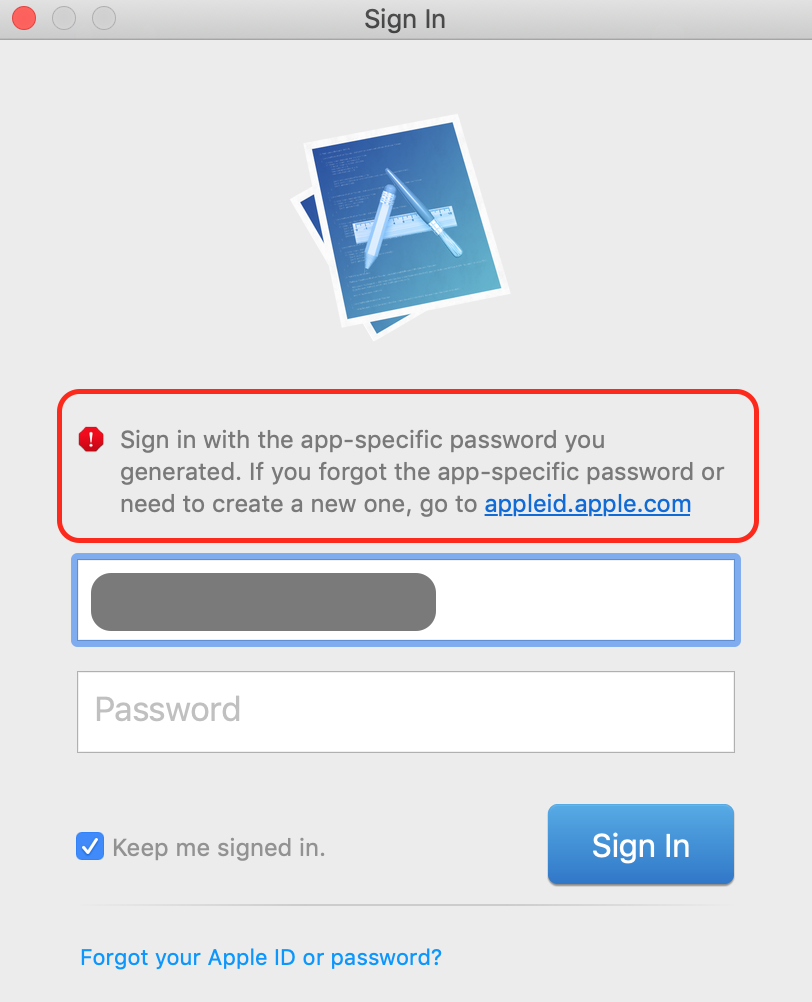
3. You need to login into ApplicationLoader, login into ApplicationLoader must be using Appstore app-specific credentials, log in with your Apple developer account email and app-specific password you created.
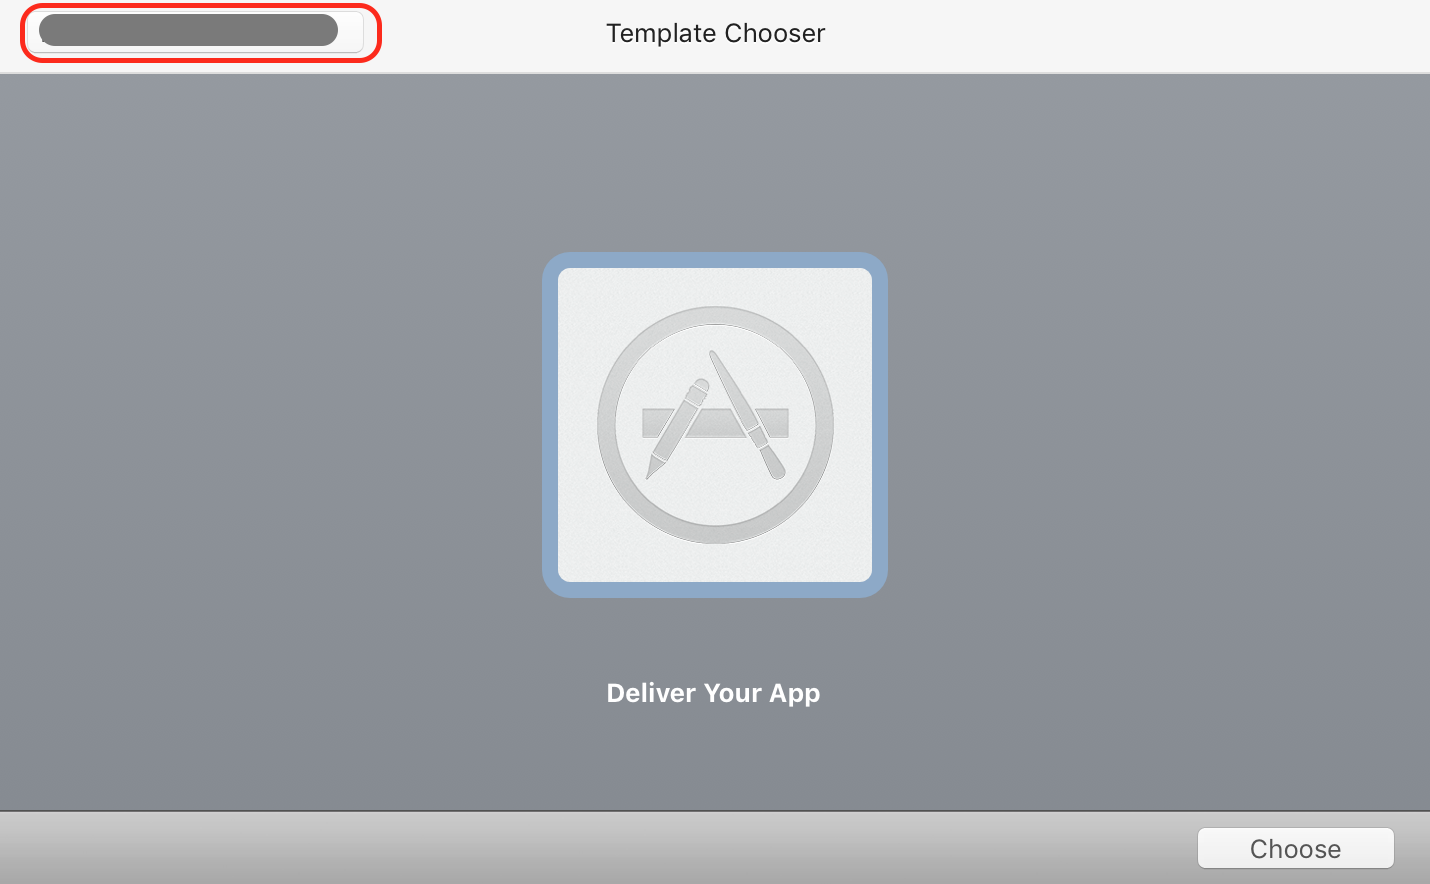
4. After successful login, you will find the main window of ApplicationLoader, you will find your Apple developer account name on the top left as red Marker on the image below.
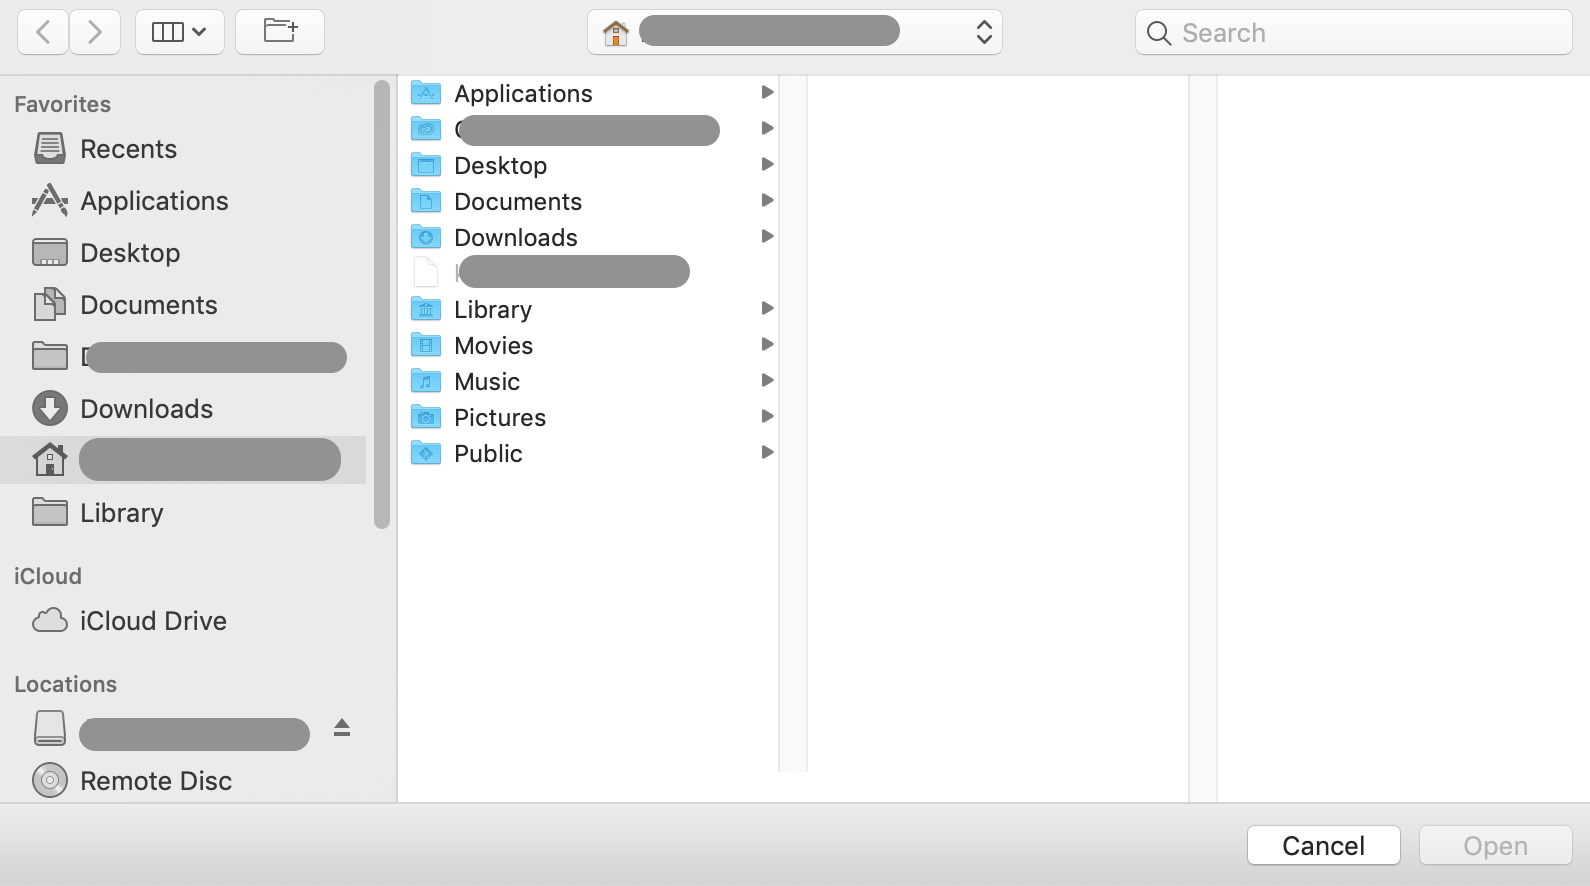
5. Click on Choose on the bottom right.
6. Select IPA you have downloaded from Eduopus app builder.
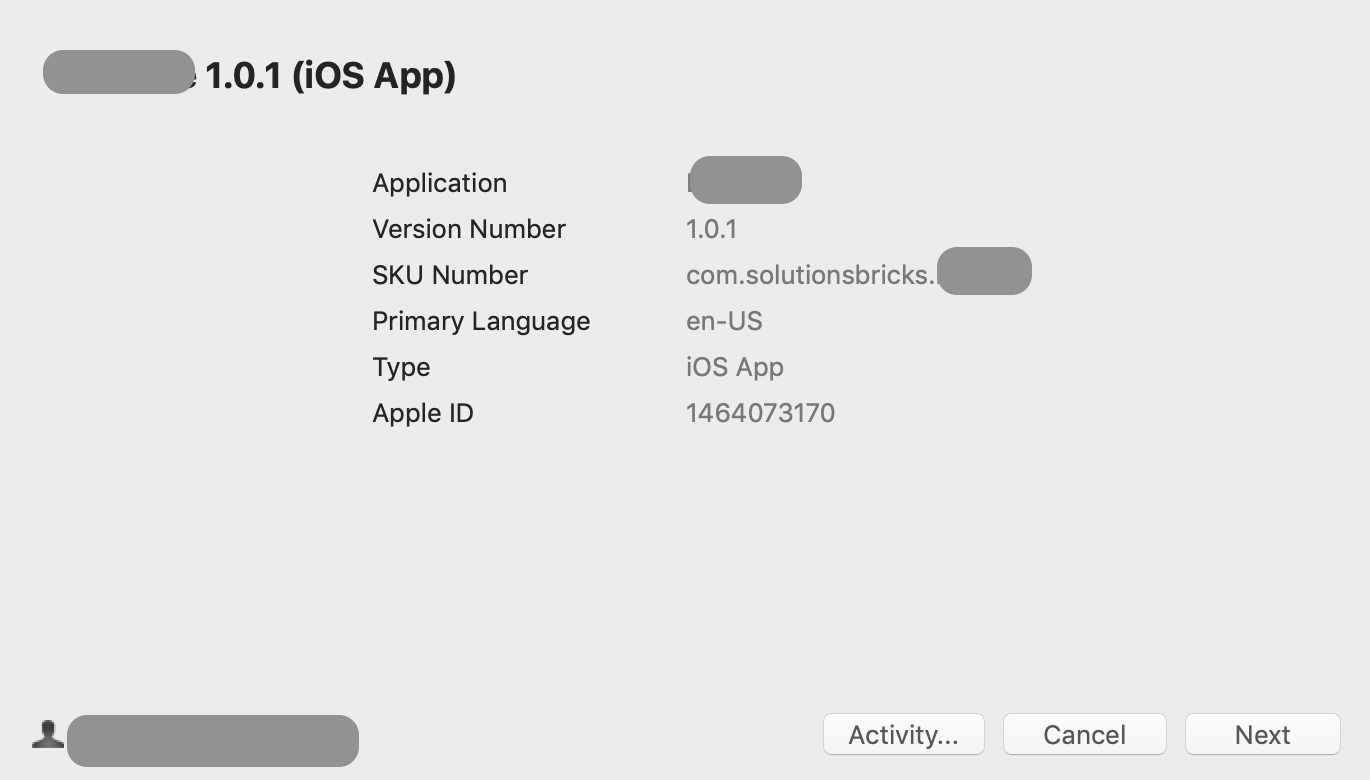
7. You will find the app information, press Next.
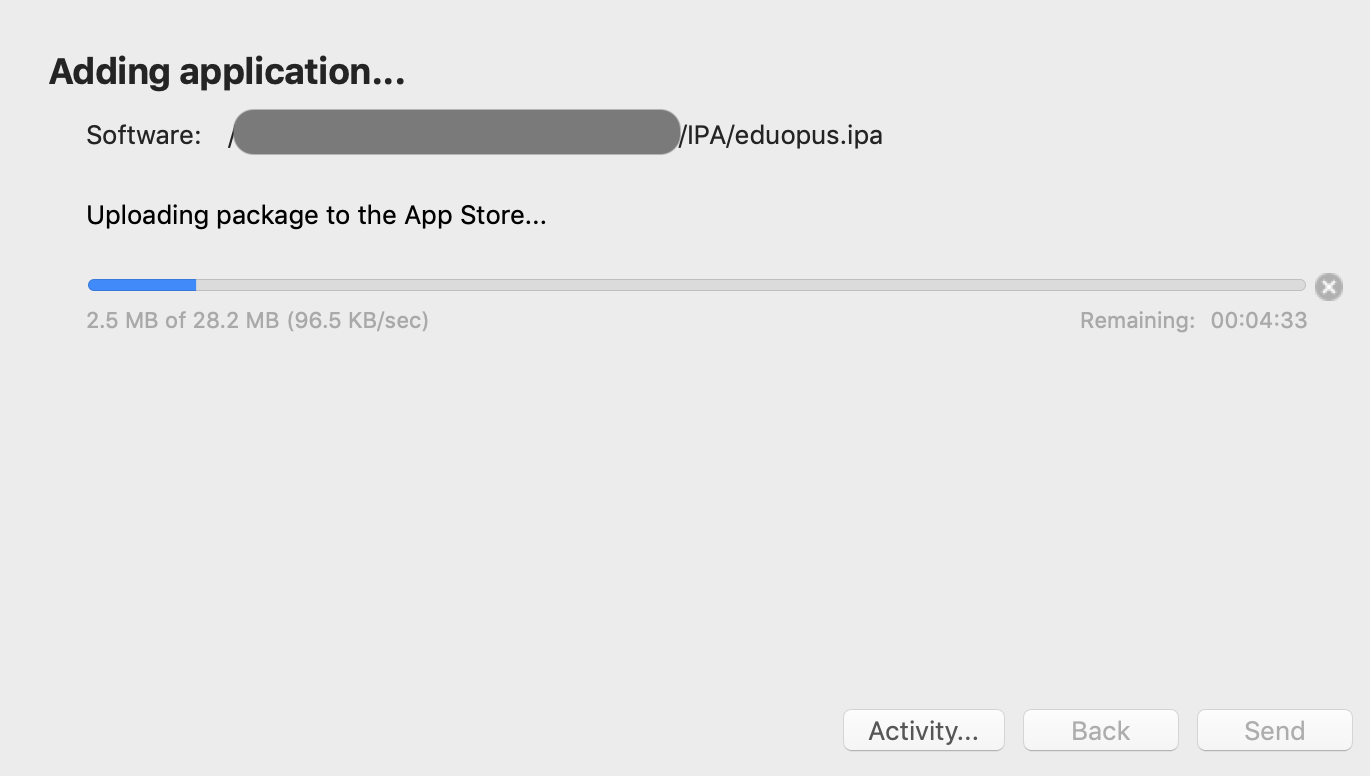
8. Then app will start uploading app to App Store.
9. After successfully uploading, you will wait until the application appears on the App Store, this may take about 1-3 hours.
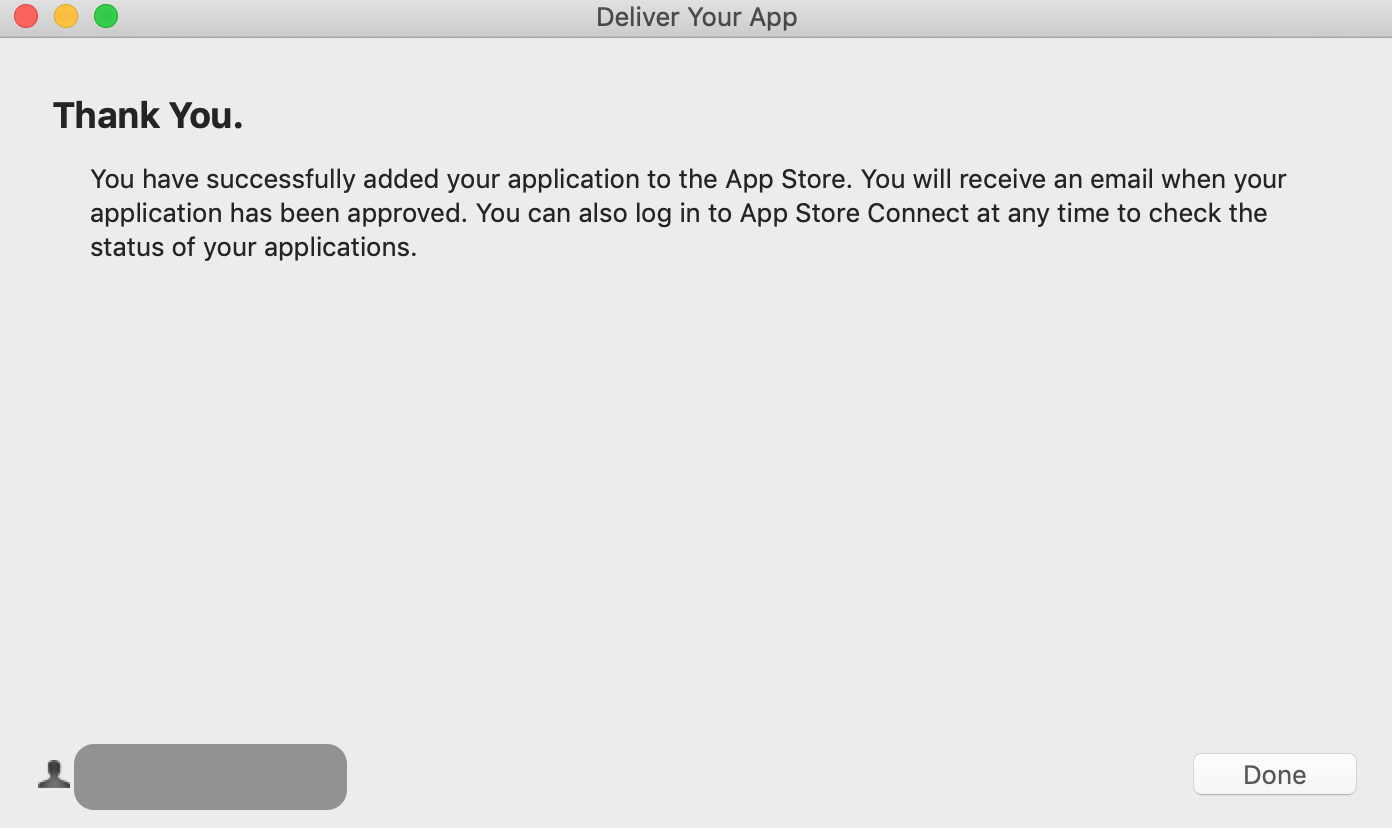
After uploading and receiving an email of approval from Apple.
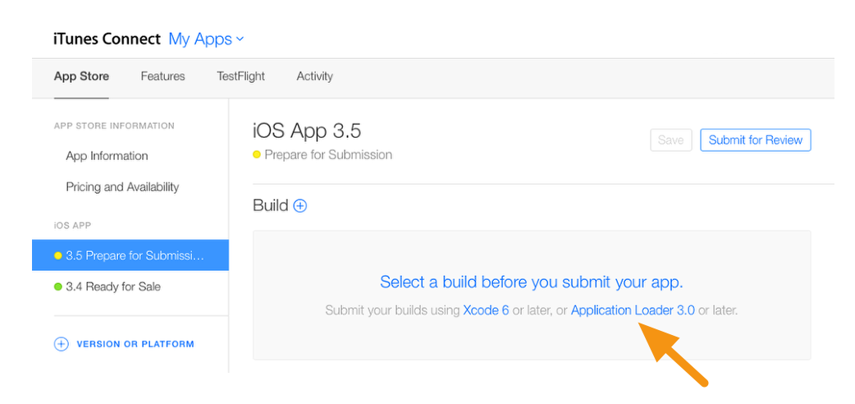
Go to Create app on iTunes Connect. In the steps of creating your app, you need to have a valid build uploaded to App Store, now we have uploaded this build to your App Store.
You will find this statement visible " Select a build before you submit your app ", click on it, then select the latest build uploaded to your account.
To follow this guide you have to use a Mac device, can't be done using Windows devices.
1. You will create and download the IPA file of your institute application as explained in this guide.
2. Open ApplicationLoader.app by searching about it on the spotlight.
If you didn't find it in the spotlight, open it using Xcode.
you'll find "Application Loader" under the "Xcode" menu (the first menu to the right of the Apple in the menu bar) and it'll be hiding in the "Open Developer Tools" submenu.
3. You need to login into ApplicationLoader, login into ApplicationLoader must be using Appstore app-specific credentials, log in with your Apple developer account email and app-specific password you created.
4. After successful login, you will find the main window of ApplicationLoader, you will find your Apple developer account name on the top left as red Marker on the image below.
5. Click on Choose on the bottom right.
6. Select IPA you have downloaded from Eduopus app builder.
7. You will find the app information, press Next.
8. Then app will start uploading app to App Store.
9. After successfully uploading, you will wait until the application appears on the App Store, this may take about 1-3 hours.
After uploading and receiving an email of approval from Apple.
Go to Create app on iTunes Connect. In the steps of creating your app, you need to have a valid build uploaded to App Store, now we have uploaded this build to your App Store.
You will find this statement visible " Select a build before you submit your app ", click on it, then select the latest build uploaded to your account.